
Okay, so I know some of te are having a hard time using link and following my link. So I decided to find an alternative way of making crossover pictures that are somewhat easier to understand and make.
In this article, I'm going to teach te how to make a crossover using link, one of the 4 editing sites I explained in my link.

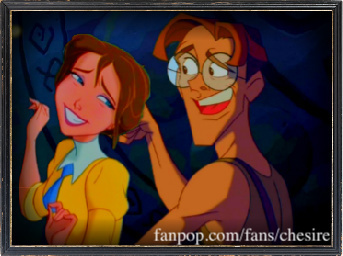
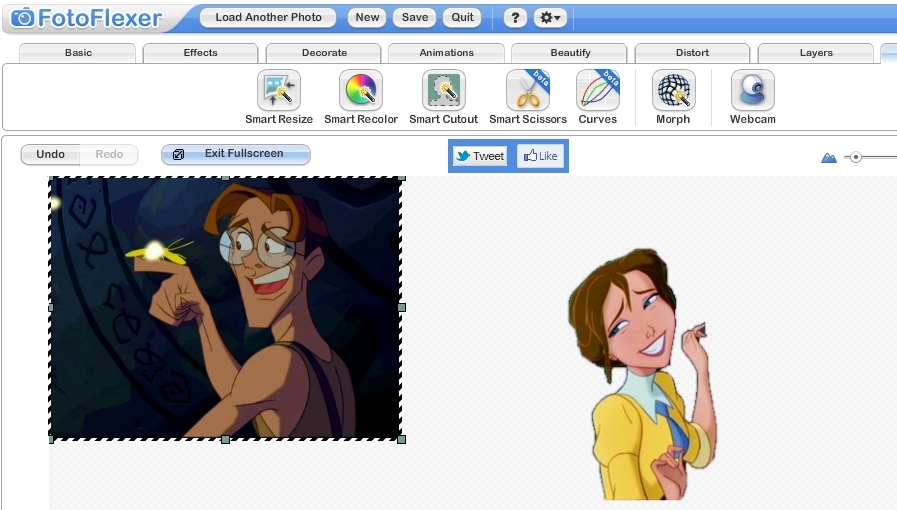
So let's start da uploading the first image you're going to make as a crossover. I'll be using dear Milo here.
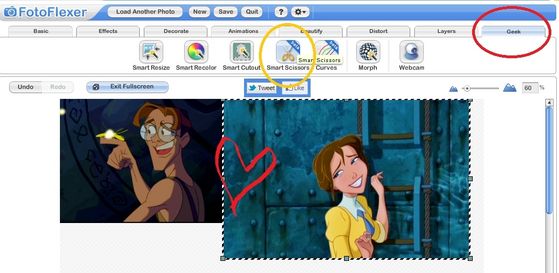
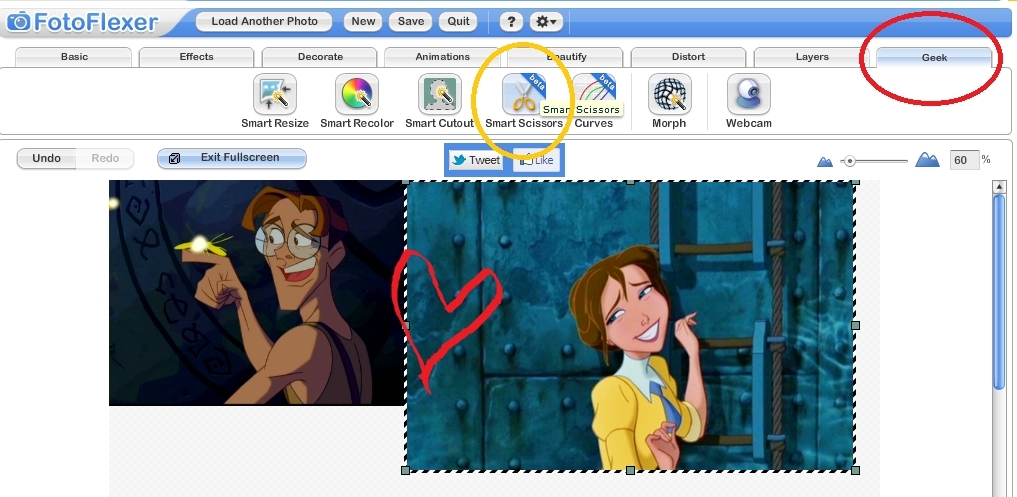
So after uploading the first image, click the "Layers" tab and click "Add Images" to carica the secondo image. (I used Jane here)
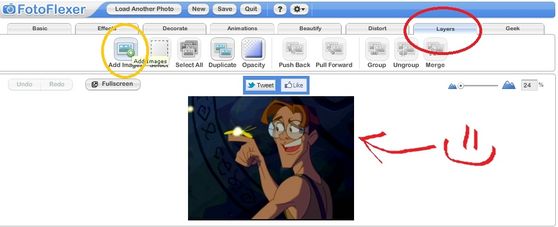
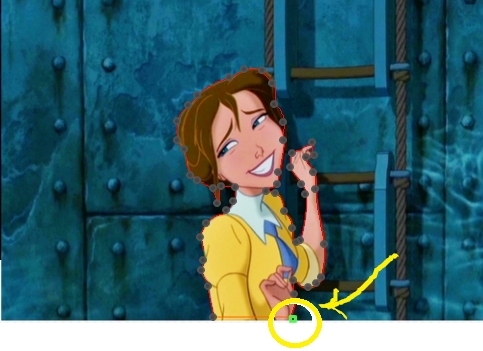
Next, click the "Geek" tab and click "Smart Scissors". Now this is a very useful tool and much easier than the magic wand tool in Pixlr since all te need to do is to click the outlines of your desired part of the image and it will automatically adjust itself to the lines of the image. Be sure to end it from where you've started.
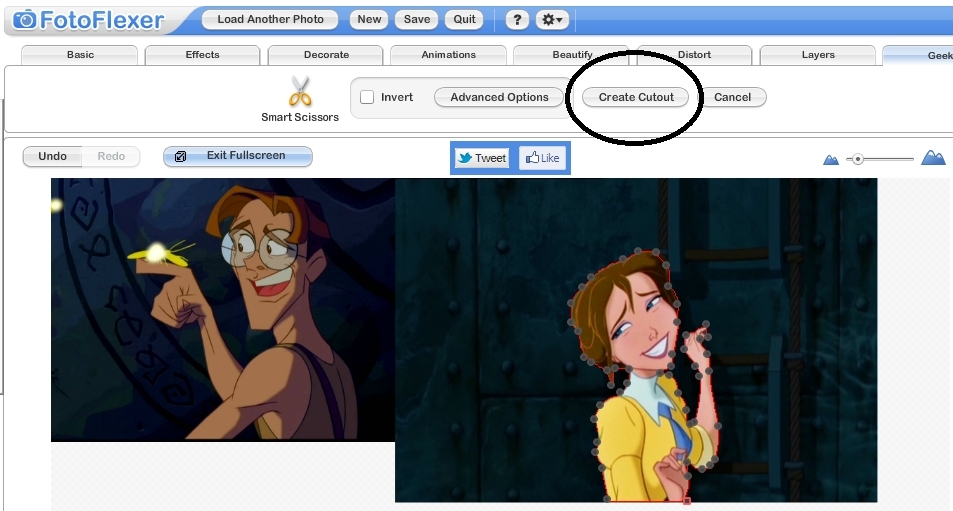
As soon as you've finished clicking through the whole outline, the rest of the image will be dimmed and then click "Create Cutout"
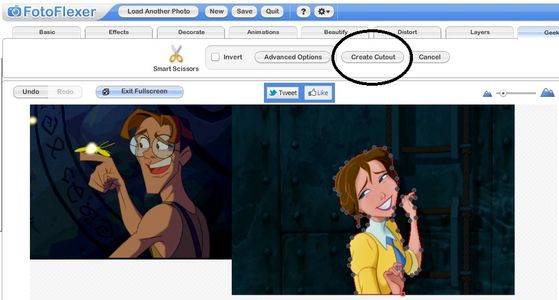
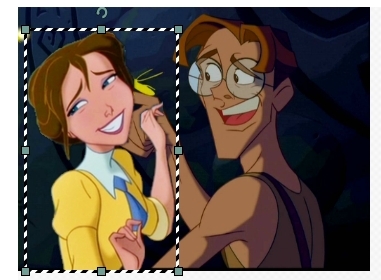
It will now look like this:

After that, just click the cutout image and drag it to where te want it to be,

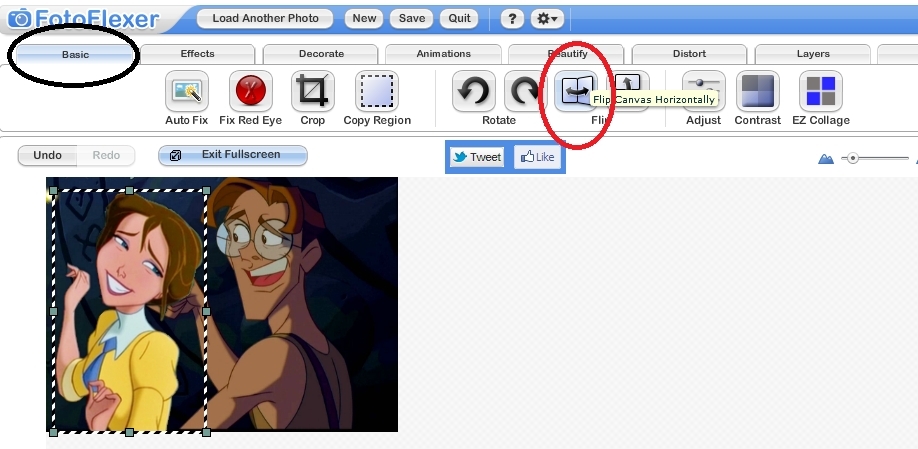
Then click the "Basic" tab and click "Flip Canvas Horizontally" to change the direction of the image.
*Only flip the image when necessary.

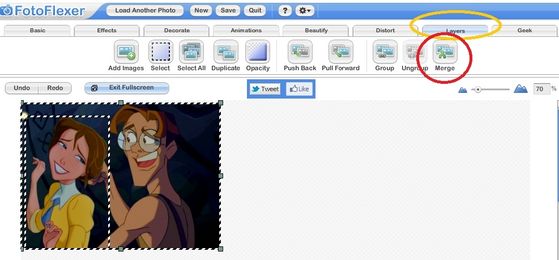
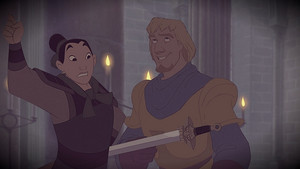
modifica the appearance of the image (if te want) to make it blend with the other picture. Then click one of the image and hold the Shift key while clicking the secondo image. Then go to "Layers" tab and click "Merge" to make it into a single image.
And after that is the end result.
Adding effects is optional.
And so there te have it. I hope this was easier to understand. Feel free to ask domande and I hope to see some of your crossovers now. :D
In this article, I'm going to teach te how to make a crossover using link, one of the 4 editing sites I explained in my link.
So let's start da uploading the first image you're going to make as a crossover. I'll be using dear Milo here.
So after uploading the first image, click the "Layers" tab and click "Add Images" to carica the secondo image. (I used Jane here)

Next, click the "Geek" tab and click "Smart Scissors". Now this is a very useful tool and much easier than the magic wand tool in Pixlr since all te need to do is to click the outlines of your desired part of the image and it will automatically adjust itself to the lines of the image. Be sure to end it from where you've started.

As soon as you've finished clicking through the whole outline, the rest of the image will be dimmed and then click "Create Cutout"
It will now look like this:
After that, just click the cutout image and drag it to where te want it to be,
Then click the "Basic" tab and click "Flip Canvas Horizontally" to change the direction of the image.
*Only flip the image when necessary.
modifica the appearance of the image (if te want) to make it blend with the other picture. Then click one of the image and hold the Shift key while clicking the secondo image. Then go to "Layers" tab and click "Merge" to make it into a single image.

And after that is the end result.

Adding effects is optional.
And so there te have it. I hope this was easier to understand. Feel free to ask domande and I hope to see some of your crossovers now. :D


“And now, if you’ll excuse me, Archdeacon, I must give these to the Belles of Notre Dame.”

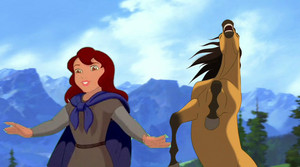
Childhood Friends
Spirit is a young Kiger Mustang. He was born to be leader of his herd and best friend to young Kayley. The two had been close Friends since childhood. But when Ruber steals King Arthur's sword, it's up to Kayley and Spirit to find the sword and bring back to Arthur. Along the way, they meet a blind man named Garrett and a two headed dragon named Devon and Cornwall. Together they set on a dangerous journey to bring Excalibur back to Arthur. But will Ruber will stand in their way? Find out in the new story!
Characters
Spirit
Kayley
Garrett
Devon
Cornwall
Ruber
King Arthur
Lady Juliana
Rain
Esperanza

Kayley

Spirit

Lady Juliana and Esperanza

Garrett

Devon and Cornwall

Ruber

Rain

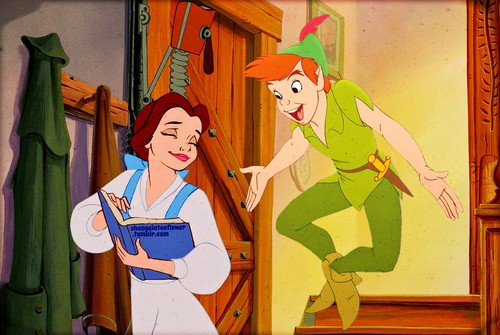
“Belle, what’s wrong?”

“You’re alive! You’re both-I thought-!”